Don’t miss those amazing tutorials for Houdini, shared by Yu Hagioita. Yu Hagioita (HAGI) is a 3d and motion designer, expert in Houdini and Cinema 4D, is based in Ichikawa City, Japan.
In those videos tutorial, we’ll learn different approaches and techniques in Houdini.
Tutorial Pt.1: How to Retopology and Auto UV in Houdini?
In video 1), we’ll learn, how to use the Retopology and Auto UV in Houdini, Yu Hagioita goes through the functionality of instant Mesh to solve and clean the mesh, after that in Houdini, we’ll show you how to fix the UV of the 3d model scanned.
Let’s check this tutorial for beginner level (include project file)
Retopology in Instant Meshes to Houdini tutorial.
- Instant Meshes: https://github.com/wjakob/instant-meshes
Auto UV in Houdini. - Game Development Toolset: https://github.com/sideeffects/GameDe…
- Download Project file (Houdini and test object): https://firestorage.jp/download/da7…
Tutorial Pt.2: How to Find Shortest Path and VDB in Houdini?
In video 2), we’ll learn, how to Find Shortest Path and VDB modeling in Houdini, after this process, we’ll see how to create a Path Growth effect on the 3d mesh in Houdini.
In Process 1: let’s apply the Remesh, the 3d model will be remeshed into triangular polygons, after that will create a Group Create Group by Range, selected a point and create a start and an endpoint group.
In Process 2: let’s applyFind Shortest Path, between the start point and the endpoint, along the edge of the input surface geometry, search for the shortest paths and follow those paths create a polygon curve.
In Process 3: let’s apply Polywire in order to create a tube shape from a curve. Applying VDB to create to the model the organic shape.
The last process create the Patch Growth, apply the Smooth to make points in the geometry smooth Relocate, and use Carve to make the points in the geometry smooth Relocate.
Let’s have a look a this Houdini tutorial for beginner level (include project file)
Find Shortest Path and VDB modeling tutorial.
- Download Project file (Houdini and test object): https://firestorage.jp/download/6ad77…
Tutorial Pt.03: How to Organic Mesh in Houdini?
In this tutorial for beginner level, Yu Hagioita shows us how to create an organic mesh.
Starting with Process 1: let’s use Attribute VOP (size_function) creating the tagetmeshsize attribute, and Remesh, using Aduptive and enable the check of Mesh Size Attribute, and Match the shape to the base object Attribute VOP.
In Process 2: let’s apply Blast to delete the select mesh, applying Divide to check the Compute Dual, the point of each face of the polyhedron is the face join in the center, and using Polywire to create a tube shape from a curve. in the end, apply the VDB, use VDB to model organic shapes.
Let’s have a look a this Houdini tutorial for beginner level (include project file)
Organic Mesh in Houdini
- Download Project file (Houdini and test object): https://firestorage.jp/download/
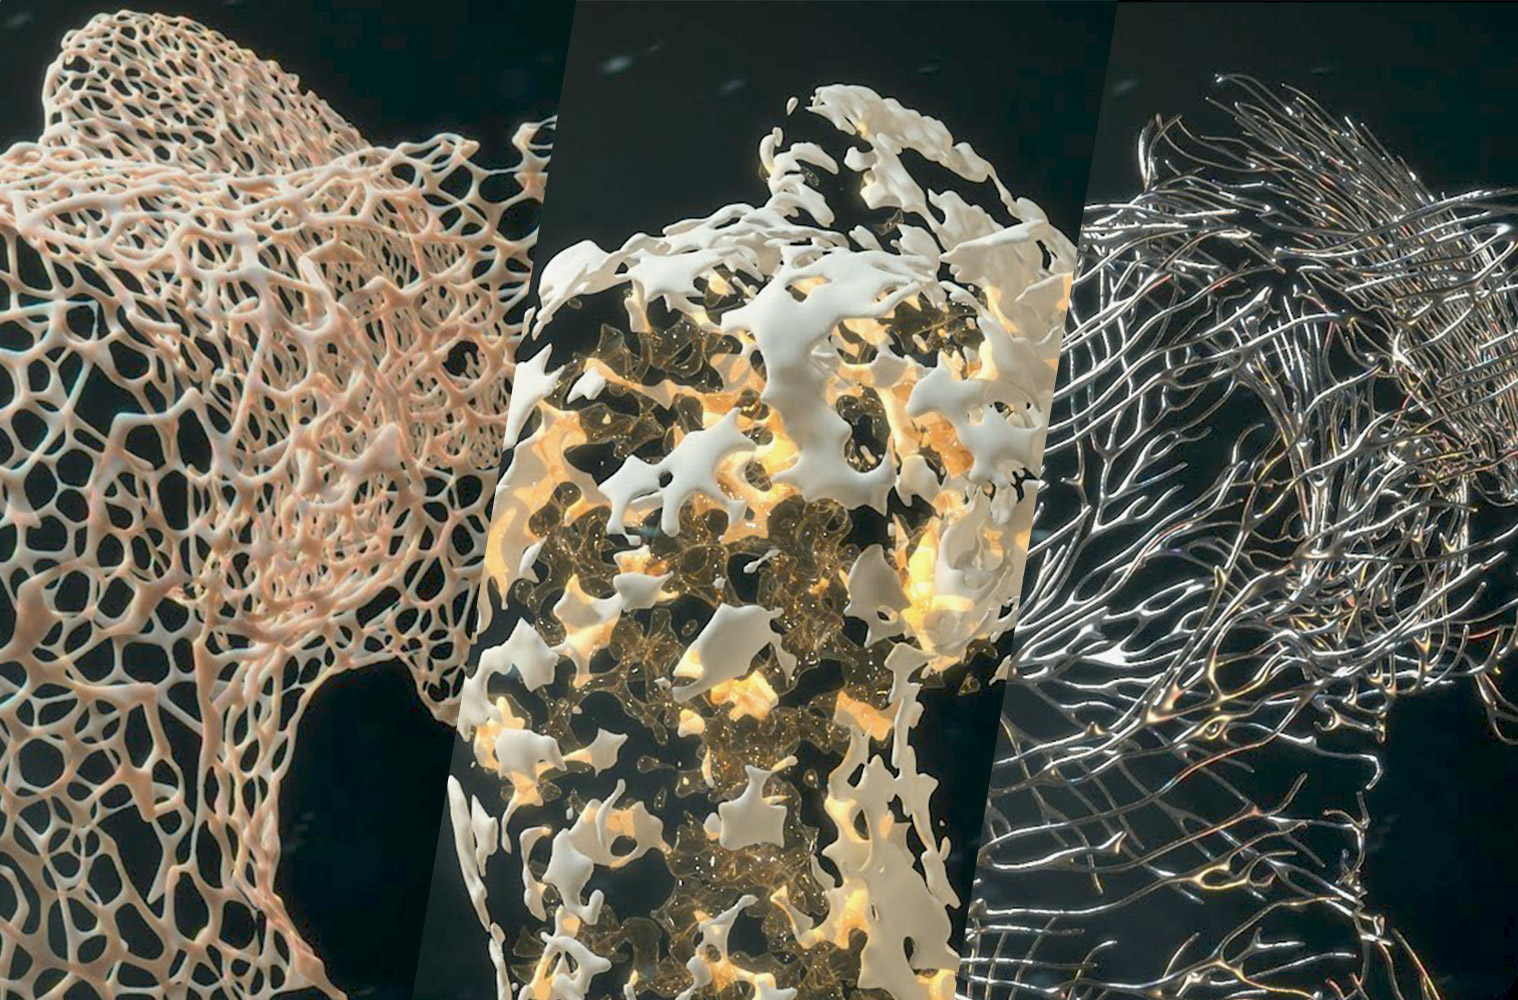
Tutorial Pt.04: How to VDB Modeling in Houdini?
In this tutorial for beginner level, we’ll learn how to create a VDB Modeling in Houdini.
Process 1: let’s apply the IsoOffset, to converts an object to a fog volume, after the apply Scatter to scatter the new points in the volume.
Process 2 VDB Modeling pt.01: let’s apply the VDB nodes to model organic shapes, and play with the value in order to create the particular shape.
In the last Process VDB Modeling pt.02: the VDB organic shape is converted using Convert Line to VDB and organic shape modeling
Organic Mesh in Houdini
- Download Project file (Houdini and test object): https://firestorage.jp/download/
Tutorial Pt.05: How to Vellum Peel Effect?
In this tutorial for beginner level, we’ll learn how to create a paint peeling effect with Side FX Houdini Vellum. The tutorial covers things like settings to vellum simulation.
Vellum Peel Effect Process 1: Arrange the Normals, apply the Peak to move primitives, points, edge, and breakpoints in the normal direction. Apply the Attribute VOP to create a “cost” Atelibute, this will be used later to cut the object into varying edges.
Apply Rest to convert “position”to “rest”, and apply the Attribute VOP to create noise deforms the shape of the geometry, and use Edge Fracture to carve the geometry. In the end, apply Attribute Wrangle to restores the deformed geometry to its original shape.
Vellum Peel Effect Process 2: let’s apply Group Create, to create a Point Group using the Bouding Box. After that apply the Attribute Create called “active” from the created Group. In the end, create a Null as a reference.
Vellum Peel Effect Process 3: let’s use Vellum Constrant Cloth to convert geometry to geometry for Vellum.
Apply Wellum Weld Points, weld the edges of the cut object, let’s use Activate Breaking and set the Threshold value. In the end perform and simulation, use the SOP Solver inside the node to read the “active” value created by the SOP.
Since the animation is set in Attribute, it is necessary to load it like this, which allows you to create an animation that gradually breaks. Set the POP Force. This allows you to handle it like a particle.
Vellum Peel Effect in Houdini
- Download Project file (Houdini and test object): https://firestorage.jp/download/
Motion Graphics Houdini and Cinema 4D tutorial for beginner
Also don’t miss this tutorial about how to manage scenes from Houdini to Cinema 4D, Yu Hagioita will show you how to create an amazing scene in Cinema 4D using Redshift for the shader and Rendering, enjoy it!