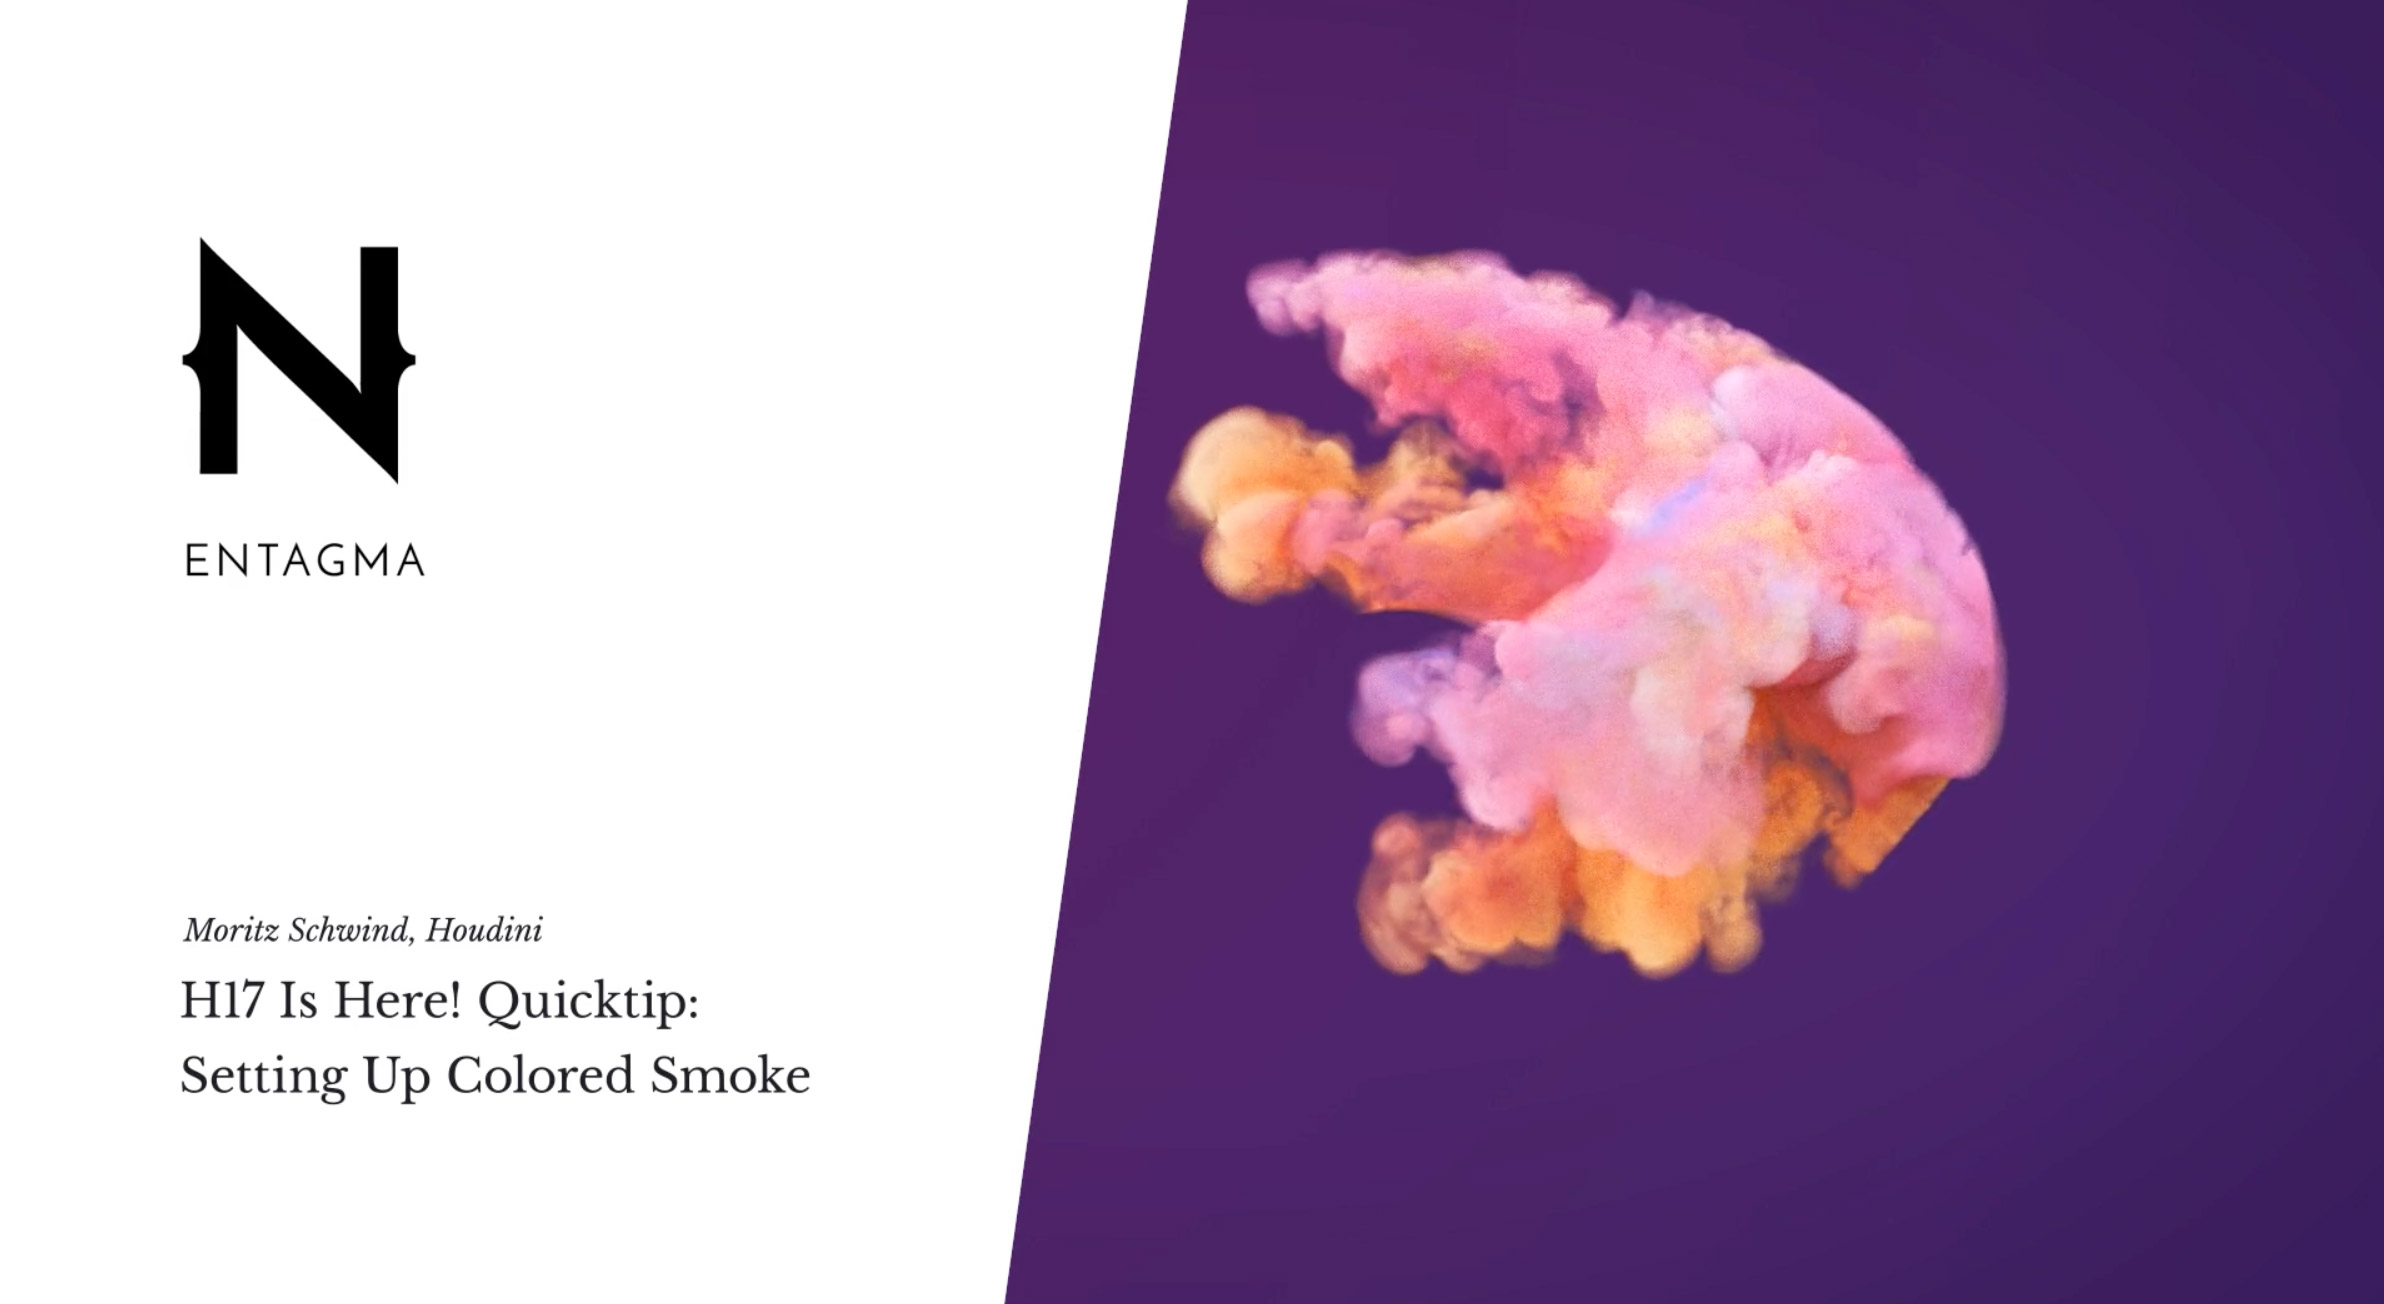
Hi Guys, don’t miss this new tutorial by Entagma about how to create colored smoke in Houdini.
Smoke and mirrors! Well, Smoke mainly in this quick tip. We’ll look at a few of Houdini 17’s new pyro features – namely the new sourcing workflow and the ability to (easily) colour your smoke simulation using a mesh’s colours.
Houdini 17 brought a few changes when it comes to setting up smoke simulations. Emission is now handled by generating points and then turning them into a sparse volume to be used as source in your DOPnet. That might seem a bit alien at first but makes sense once you use a pyro-sim in conjunction with particles or debris (VFX anyone?).
Another (at least for motion graphics) huge feature is the ability to now easily colour smoke in H17. Not that this was impossible in pre-17 days, it just got a whole lot easier. Granted – a donut isn’t the most spectacular shape to fill with (donut-) coloured smoke but you get the idea. Use it for shoes, cars, watches, whatever product you’ll need to apply a bit of colourful smoke.
Enjoy it!
Houdini 17 Quick tip: Colored Smoke
00:35 – Loading The 3D Scan Using GLTF
01:53 – Sourcing Color From The 3D Scan
03:12 – Houdini Setting Up The Smoke Emitter
05:35 – Building The Simulation Network In DOPs
Download Project File (.hip): dropbox.com/s/qagh86675qm6wd4/colored_smoke_simple_001.hip?dl=1
Download Donut 3D Scan: sketchfab.com/models/24543670152540dba611ee325c63c997
Support us on Patreon: patreon.com/entagma 


