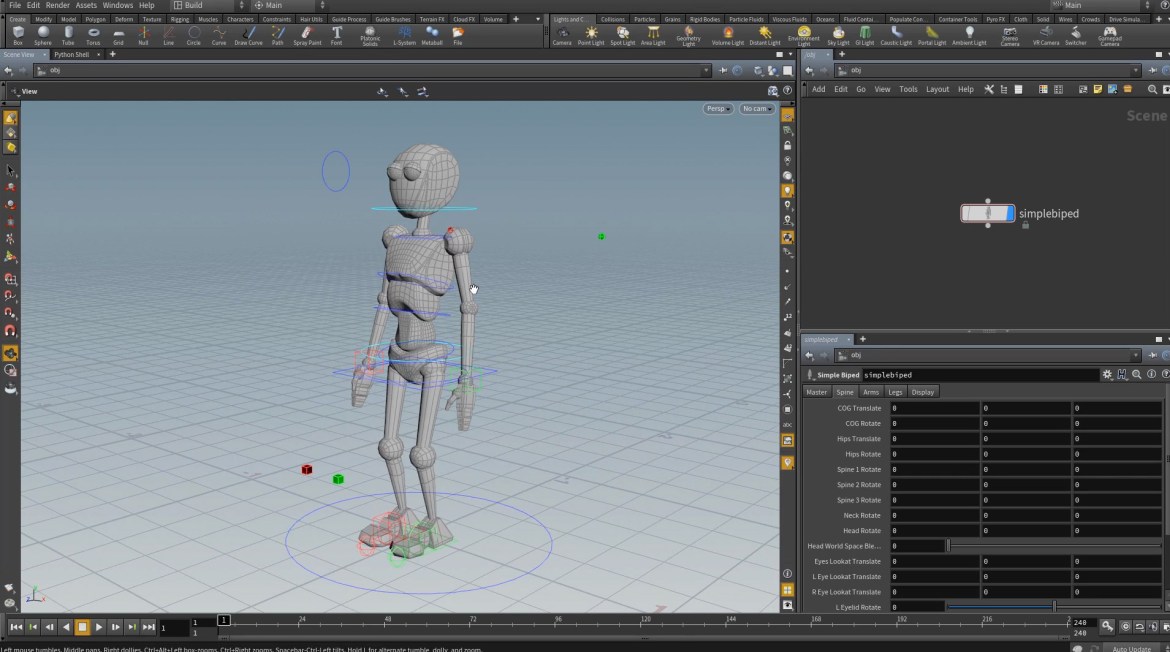
Hi Houdini Artists, don’t miss this series of rigging tutorials.
Michael Goldfarb presents the second series of rigging in Houdini tutorial.
Topics covered include updates on our previous character asset created in the first series; we will also look at how to capture geometry in general, look at bones and capture parameters, capture and deform regions, capture pose vs capture frame, aligning capture pose, capture types and finally, how to fix problem areas in our captured regions (using Edit Capture Regions, Edit Capture Weights, Paint Capture Layer, Capture Correct).
To wrap this all together, we will apply everything we have covered so far onto the soldier character (he will get some bones and animation), and look at how we can correct problem areas, as well as quickly rig overlaying garment using the weights captured from the soldier body mesh, without too much extra cost.
Rigging in Houdini Tutorial Series 2
INDEX Topics covered
00:00:00 Intro and topics to be covered
00:01:14 User Considerations
00:02:12 Quick Review
00:08:50 Capture Geometry
00:24:59 Capture methods/type
00:56:51 Biharmonic vs other methods
01:12:41 Wire Capture
01:19:46 Capture Regions (arm with simple animation)
01:24:29 Edit Capture Weights
01:31:03 Paint Capture Layer
01:44:30 Rigging Soldier HDA (Biharmonic Capture)
02:04:10 Correcting Weights (Head)
02:13:57 Correcting Weights (Arm)
02:38:43 Mirror Weights
02:51:17 Post-capture Editing
03:09:38 Geometry Optimization (LOD)
03:12:46 Conclusion
Michael Goldfarb – Rigging in Houdini 16
SideFX’s own Michael Goldfarb takes you through all the latest and greatest rigging and animation features that are included in Houdini 16.


